Creating Motion Graphics with After Effects Volume 1: The Essentials, 2nd Edition

Learn how After Effects works and get firsthand experience with the features award-winning artists use.
The center of Scale and Rotation is also useful for orbiting, arcs, and motion control moves.
Central quite literally to changing the position, scale, and rotation of an image is its anchor point. This is the pivot around which these activities take place. Judicious placement and animation of the anchor point can help you avoid a lot of headaches. Once you have a good grasp on the anchor point, we will show you how to use it to simulate motion control moves.
Open comp [Ex.01] in the examples project for this chapter, or create a new composition (Command+N on Mac, Control+N on Windows) and make a new colored Solid (Command+Y or Control+Y, respectively) that's the same size as the comp (click on the Make Comp Size button in the Solid's dialog). Select the solid layer, and notice the anchor point in the center of the layer. With the layer selected, type A to solo Anchor Point, and Shift+P to add Position so only these two properties are displayed in the Timeline window.
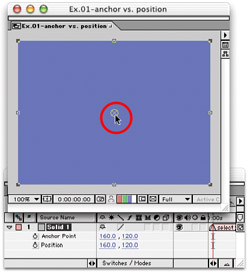
Both Anchor Point and Position appear to have the same values on the X and Y axes, so how do these numbers differ? Move the layer in the Comp window and notice that only the value of Position has changed. The value of Position...


