AutoCAD Pocket Reference, 2008 Edition

The following are step-by-step instructions on how to configure AutoCAD for your printer or plotter. These instructions assume you are a single system user. If you are networked or need more detailed information, please refer to your AutoCAD users guide. Note the dialogue boxes below may differ slightly between AutoCAD versions.
Note: You can configure AutoCAD for multiple printers. Try adding the printer shown in this example and then add your own.
Select File /Plotter Manager
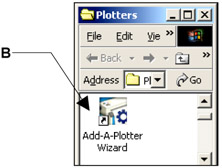
Select " Add-a-Plotter"Wizard

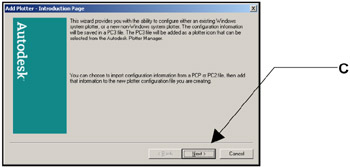
Select the " Next button.

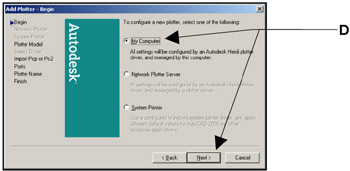
Select " My Computer" then Next.

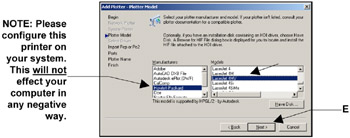
Select the Manufacturer and the specific Model desired then N ext.
(If you have a disk with the specific driver information, put the disk in the disk drive and select "Have disk" button then follow instructions.)

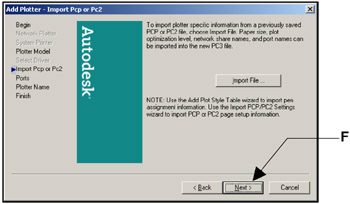
Select the "Next" box.

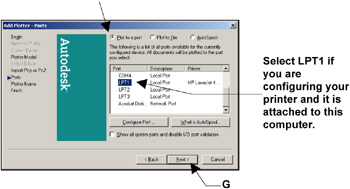
Select " Plot to a port" Then select "Next"

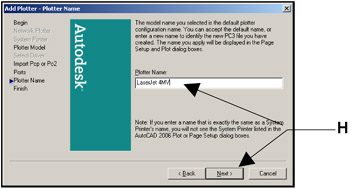
The Printer name, that you previously selected, should appear. Then select " Next"

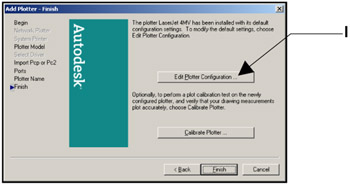
Select the " Edit Plotter Configuration " box.

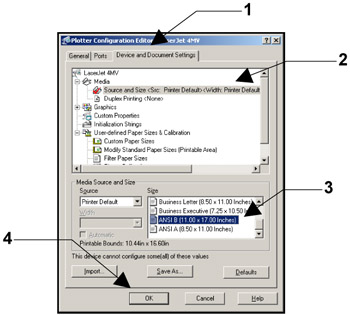
Select:
Device and Document Settings tab.
Media: Source and Size
Size: Ansi B (11 X 17 inches)
OK box.

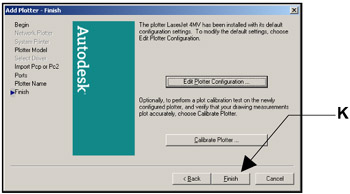
Select " Finish"

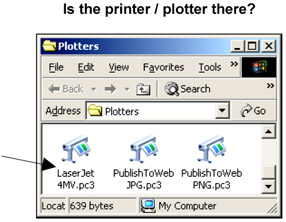
Now check the File / Plotter Manager.

To setup a sheet in Paper Space (Layout tab), you must specify what printing device to use and what paper size to print on. These specifications are called the " Page Setup".