Apple Aperture 2: A Workflow Guide for Digital Photographers
Including clear explanations and step-by-step guidance, this book shows you the best way to import, organize and enhance your images for ease of management and high quality results.
 TABLE OF CONTENTS
There are two primary ways to get your images into Aperture - either directly from your camera or memory card, or from an attached drive or folder on your Mac. We will cover cameras and memory cards here, and move on to internal and external drives in the following section.
Whatever your source, photos are always added to the Aperture Library using the Import dialog. This may appear automatically when you connect your camera - if you have Mac OS X set to do that - but if not, it can be activated using the Import button on the Toolbar.
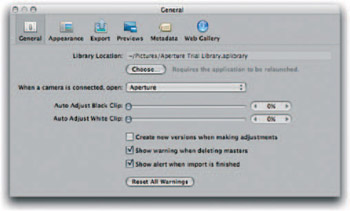
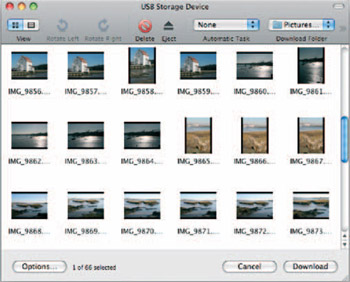
The setting that controls whether or not it appears every time your Mac detects that a camera or card has been connected is found in Preferences (  ) or through Image Capture, the utility that manages cameras and scanners at the system level. This is found in the Applications folder (Figure 3.1 and 3.2).
The Import dialog is split into three key sections, and links your source media, which appears at the top of the Projects pane, with the Projects themselves,...