Applied SolidWorks
Providing step-by-step instructions along with numerous illustrations, this book begins at a very basic level and ends at a fairly advanced level so that users can learn Solidworks on their own with little or no outside help.
SolidWorks is now out of the Sketch commands and into the Features Commands. Notice that the commands at the top of the screen are now different as shown in Figure 111.
![]()
Figure 111
Move the cursor to the upper middle portion of the screen and left click on Extruded Cut as shown in Figure 112. This time SolidWorks will extrude space or air rather than material as was done to create the bracket.

Figure 112
The menu at the left will change. Enter .500 as shown in Figure 113.
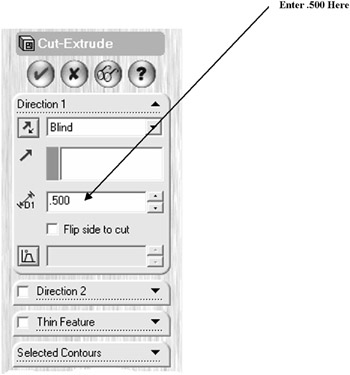
Figure 113
Move the cursor to the upper left portion of the screen and left click on the Glasses icon as shown in Figure 114.
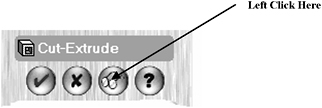
Figure 114
A preview of the part will be displayed as shown in Figure 115.
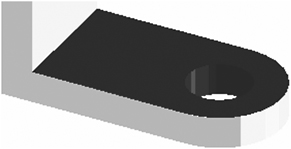
Figure 115
To return to the main menu, left click once on the Glasses icon.
Left click on the green checkmark as shown in Figure 116.
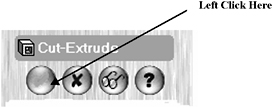
Figure 116
There should be a thru hole in the part similar to Figure 117.
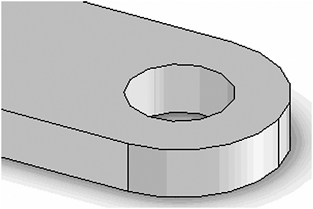
Figure 117
Another method of creating a hole is to use the Hole Wizard command.
To use the Hole Wizard command a Point must be constructed in the Sketch command. Move the cursor to the top portion of the part as shown in Figure 118. The outer edges of the part will turn red.
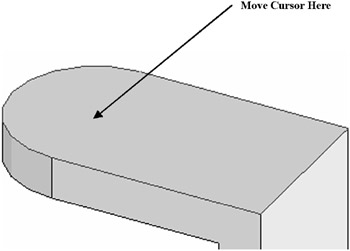
Figure 118
Right click on...