Applied SolidWorks
Providing step-by-step instructions along with numerous illustrations, this book begins at a very basic level and ends at a fairly advanced level so that users can learn Solidworks on their own with little or no outside help.
Design multiple sketch parts
Learn to use the Front, Top, and Right Planes
Learn to use the Shell command
Learn to use the Wireframe viewing command
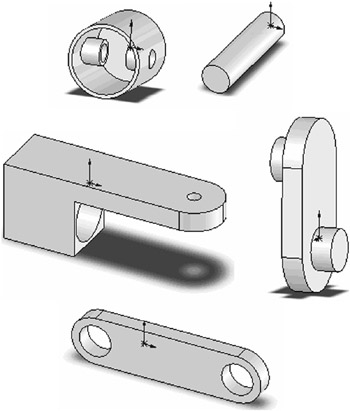
Chapter 6 includes instruction on how to design the parts shown below.
Start SolidWorks by referring to Chapter 1 Getting Started .
After SolidWorks is running, begin a new sketch.
Move the cursor to the upper middle portion of the screen and left click on Circle as shown in Figure 1.
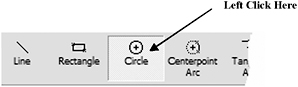
Figure 1
Move the cursor to the center of the screen and left click once. This will be the center of the circle as shown in Figure 2.
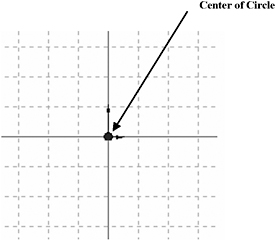
Figure 2
Move the cursor to the right and left click once as shown in Figure 3.

Figure 3
Right click anywhere around the drawing. A pop up menu will appear. Left click on Select as shown in Figure 4.
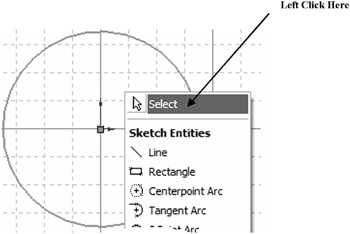
Figure 4
Move the cursor to the upper left portion of the screen and left click on Smart Dimension as shown in Figure 5.
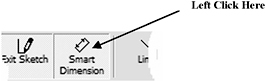
Figure 5
After selecting Smart Dimension move the cursor over the edge of the circle causing it to turn red as shown in Figure 6. Left click once. The dimension will be attached to the cursor.
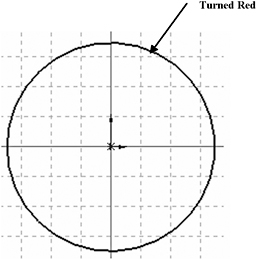
Figure 6
Move the cursor to where the dimension will be placed and left click once as shown in Figure 7.
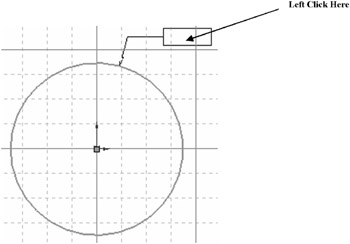
Figure 7
The Modify dialog box...