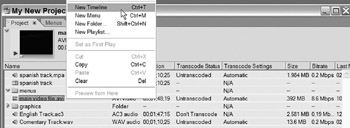
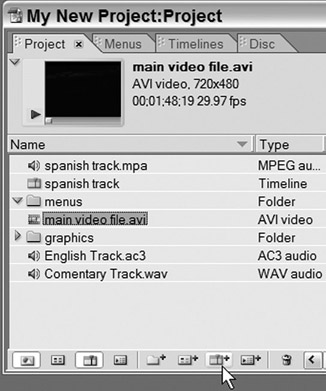
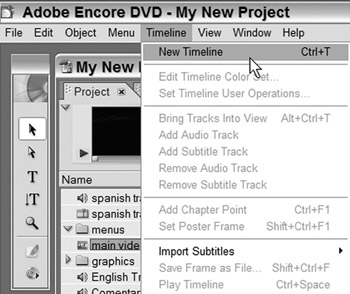
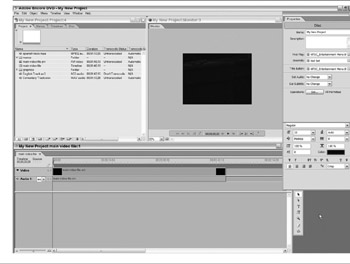
Instant Encore 1.5

gimme more time!
One of the best innovations of DVD over VHS is the ability to navigate video content quickly and easily. Timelines include chapter points which allow instant access to various sections of a video. Encore allows up to 99 timelines in a DVD project. Timelines are also used to create slideshows.
Once a video asset is imported into Encore, the next step is to create a new timeline.
| Note | if a video asset is intended as a background for a menu, creating a time line is not necessary. |
Encore offers many ways to create a timeline; use the method that best matches your workflow. Each method starts with selecting the video file.
To create a new timeline:

Select the video file.
Use the keyboard shortcut Ctrl+T
Or right-click on the video file and select New Timeline.
Or use the Create New Timeline icon in the Project tab.

Or go to Timeline>New Timeline.
After a timeline is created, the Timelines and the Monitor windows open.
This is a good time to reorganize the workspace to get ready to work with the timelines.


A new timeline is created with the same name as the asset. A timeline can be renamed to help identify the timeline. This is helpful when multiple timelines are created from the same asset.
To rename a timeline:
| Note | Selecting a clip in the Project Window, then pressing the new timeline icon will create a timeline with the asset already added. In Version... |