AutoCAD 2009 Essentials
By solving all of the workshops included that complete small projects from concept through actual plotting, this guide will help you simulate the creation of a real life project from beginning to end.
In order to hatch in AutoCAD you need to draw objects forming a closed area. Beginning with AutoCAD 2005, it became acceptable to hatch an area with a small opening.
AutoCAD comes with a good number of generic pre-defined hatch patterns saved in a file called acad.pat. You can also buy other hatch patterns from third-parties, which can be found on the Internet.
A Hatch, like any other object, should be placed in a separate layer.
There are two methods to hatch in AutoCAD, the old method (Hatch command) and the new method (Tool Palette).
This is the old method of hatching in AutoCAD.
![]() To start the Hatch command, make sure that you are at Home tab on the Ribbon and using the Draw panel, select the Hatch button.
To start the Hatch command, make sure that you are at Home tab on the Ribbon and using the Draw panel, select the Hatch button.
The following dialog box will appear:
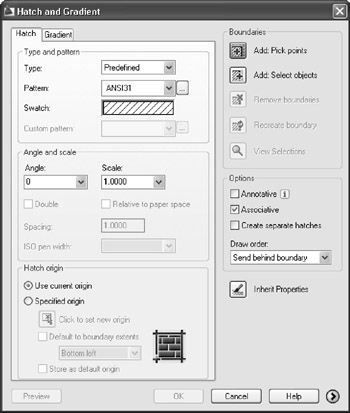
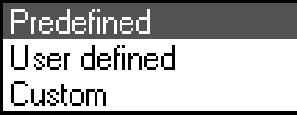
Under the Hatch tab, select the Type pop-up list and you will see the following choices:
The most simple hatch pattern has parallel lines. Once this option is selected the following parameters will be valid:
Swatch: to display a preview of the hatch.
Angle: the angle of the parallel lines.
Spacing: the distance between two parallel lines.
Double: which means, in both ways.
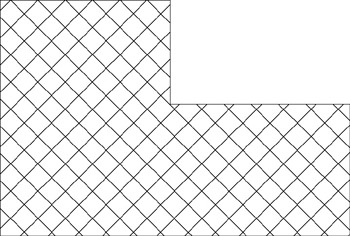
The following is a User defined hatch, using Angle = 45 and Double hatch:
There are a handful of hatch patterns available for use.